Are you a beginner and want to know how to create a YouTube channel? You’re in the right place. In this tutorial, I will guide you step-by-step on how to create a YouTube channel from scratch.
YouTube is the world’s most popular video-sharing platform. Today creating a YouTube channel is one the most suggested ideas for people who want to make money online.
People create YouTube channels for various purposes like for fun, for promoting their business and products, for entertainment, for education purposes, and for making money online.
You can create a YouTube channel only if you have a Gmail account because YouTube is the proprietary of Google.
If you don’t have a Gmail account or you want to create a new Gmail account, follow this tutorial:
How to Create a New YouTube Channel
Follow the steps to create a new YouTube channel.
- Open YouTube.
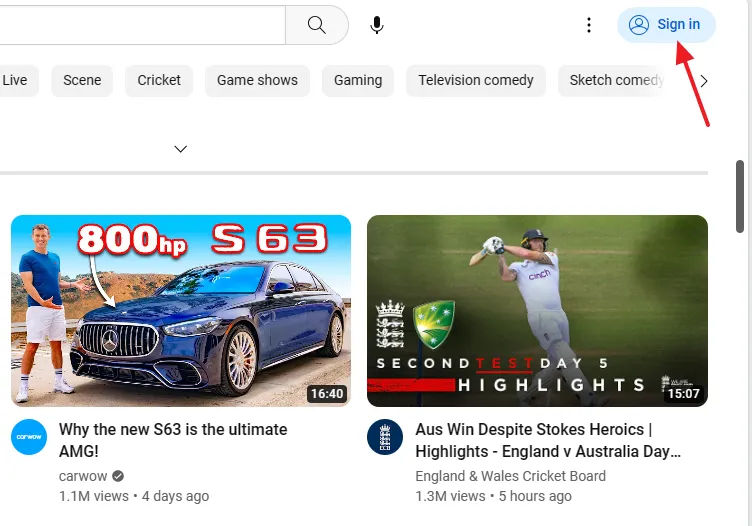
- Click on the Sign in button, located at top-right corner.
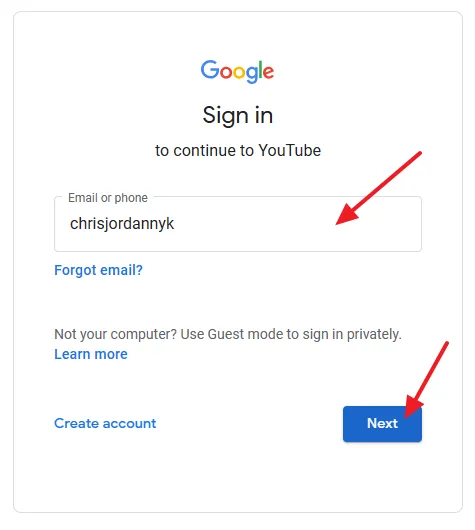
- Enter your Gmail address or phone number.
- Click on the Next button.
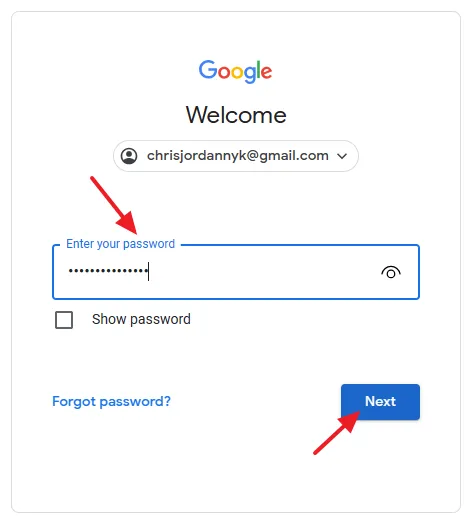
- Enter the Password of your Gmail account.
- Click on the Next button.
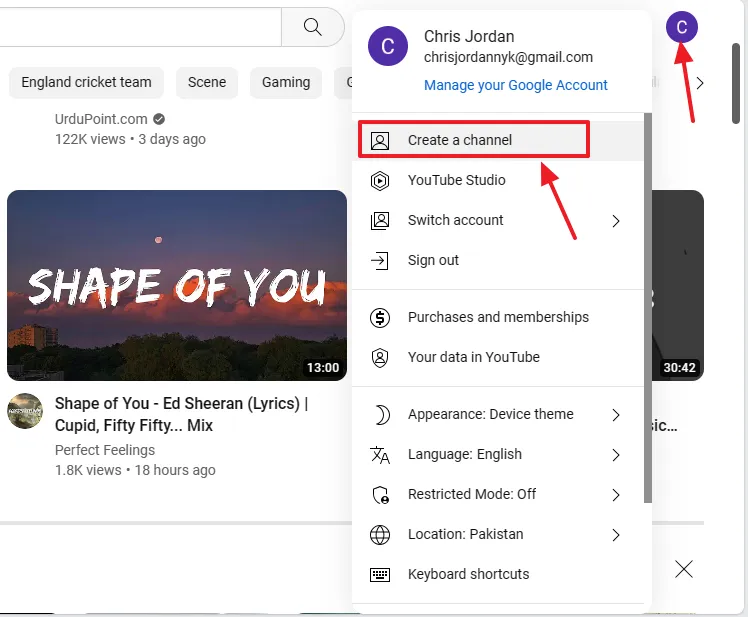
- Click on your your Gmail Account icon/thumbnail located at top-right corner.
- Click on Create a channel.
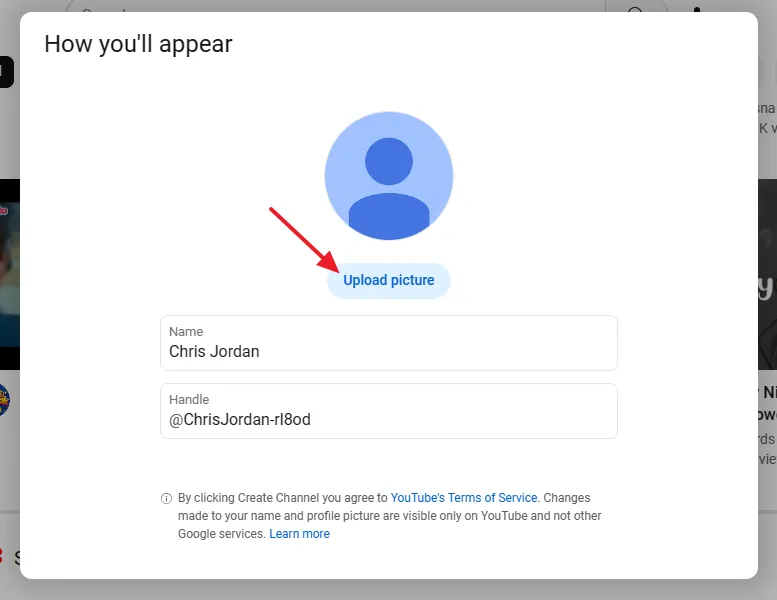
- Click on the Upload picture button to upload the profile photo of your YouTube channel.
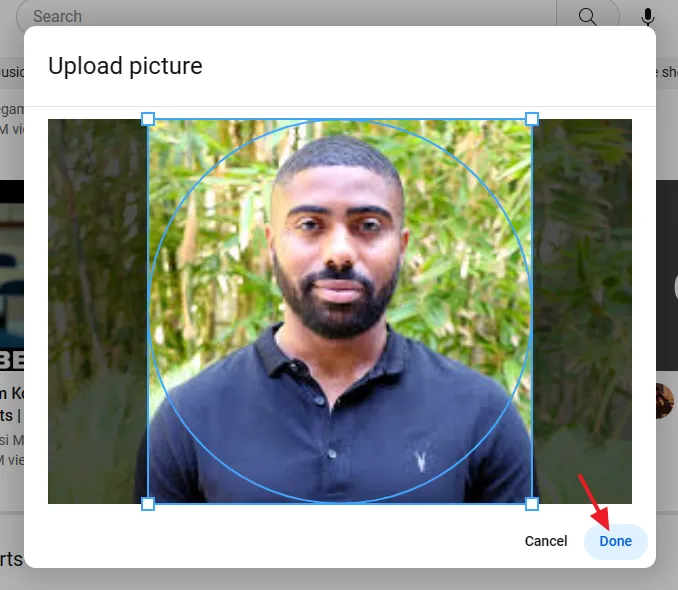
- Your YouTube channel picture is uploaded. Click on the Done.
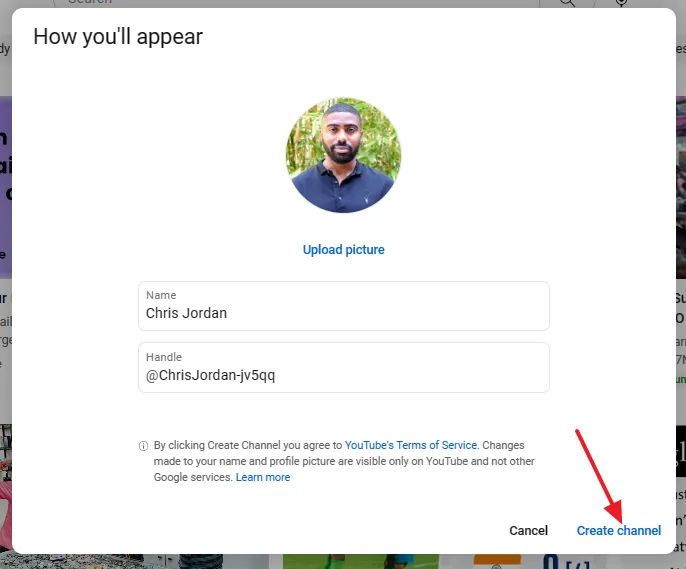
- Click on the Create channel. On some browsers the Create channel button may not appear because of the screen resolution. Hold Ctrl and press minus/hyphen (-) to reduce the screen resolution.
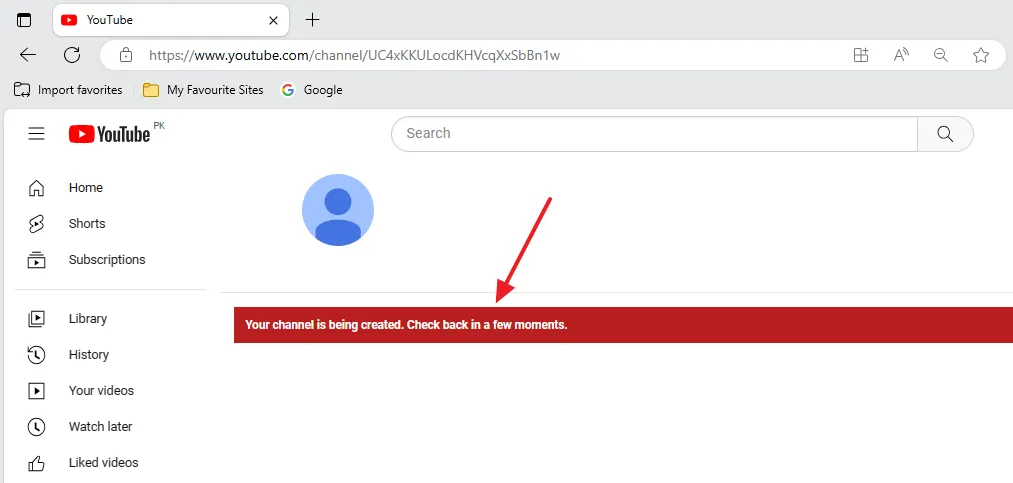
- You will see a message on the screen, “Your channel is being created. Check back in a few moments.“.
- Refresh the page to know whether your YouTube channel is created or not.
- You can see here that the YouTube channel is successfully created.
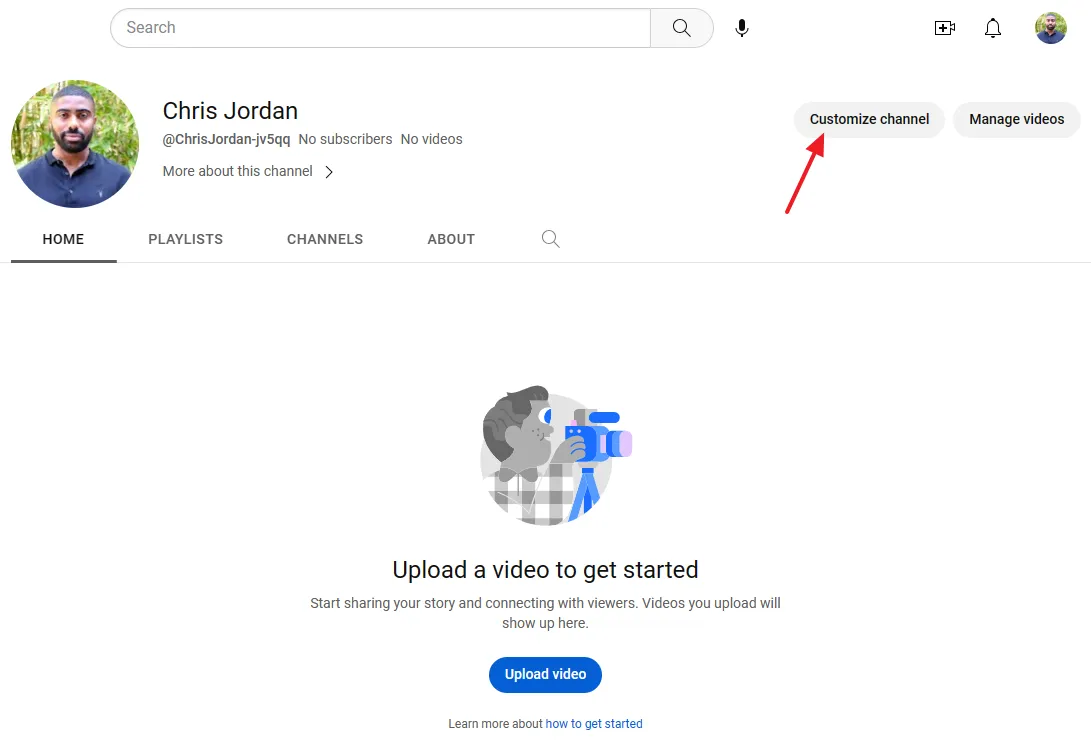
- Click on the Customize channel button to update your basic settings.
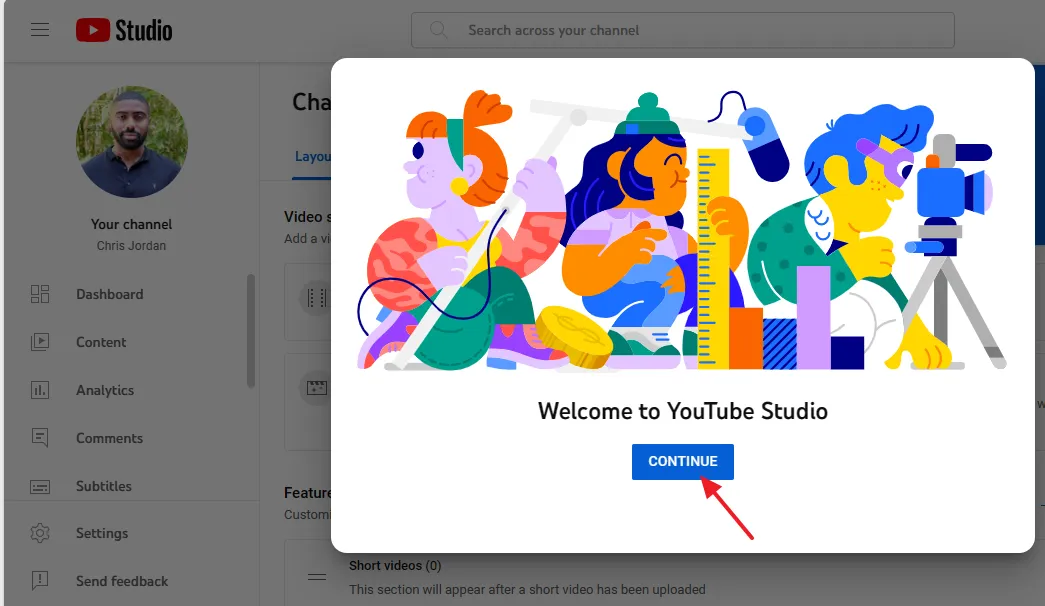
- You will be redirected to YouTube Creator Studio. Click on the Continue button.
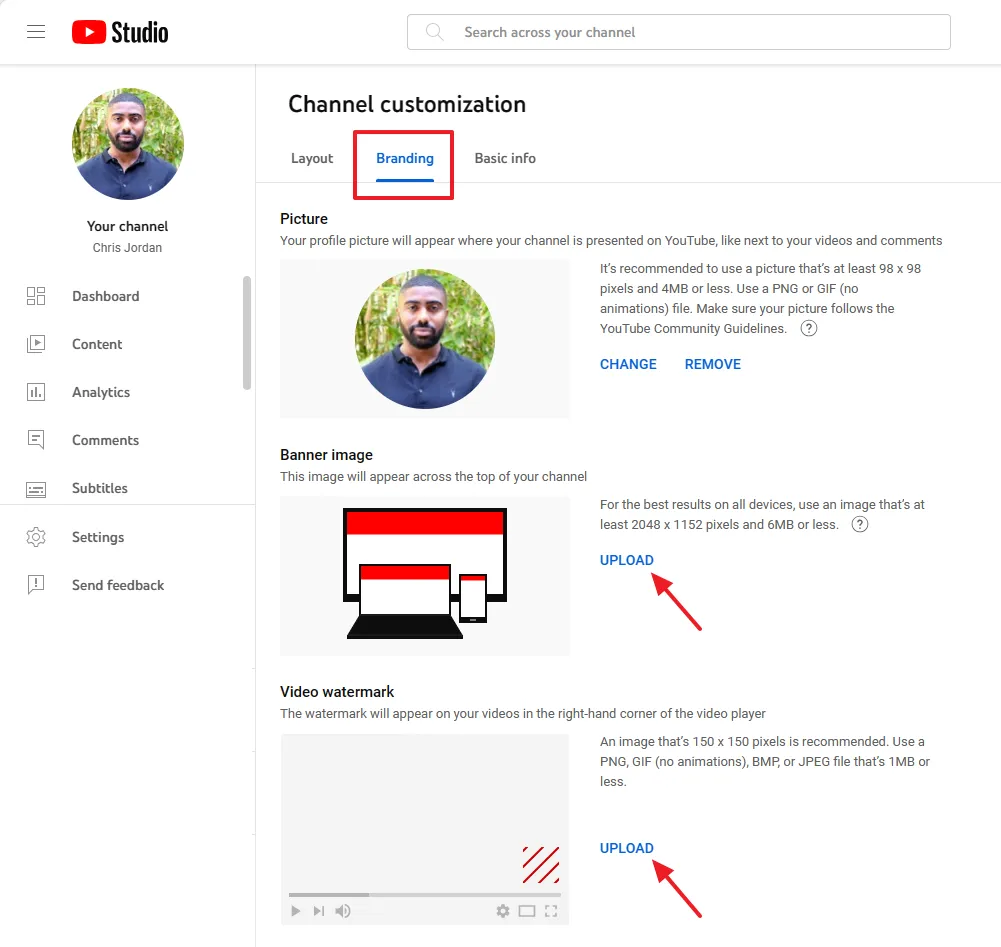
- Click on the Branding tab to change/update YouTube channel picture, upload Banner image, and Video watermark.
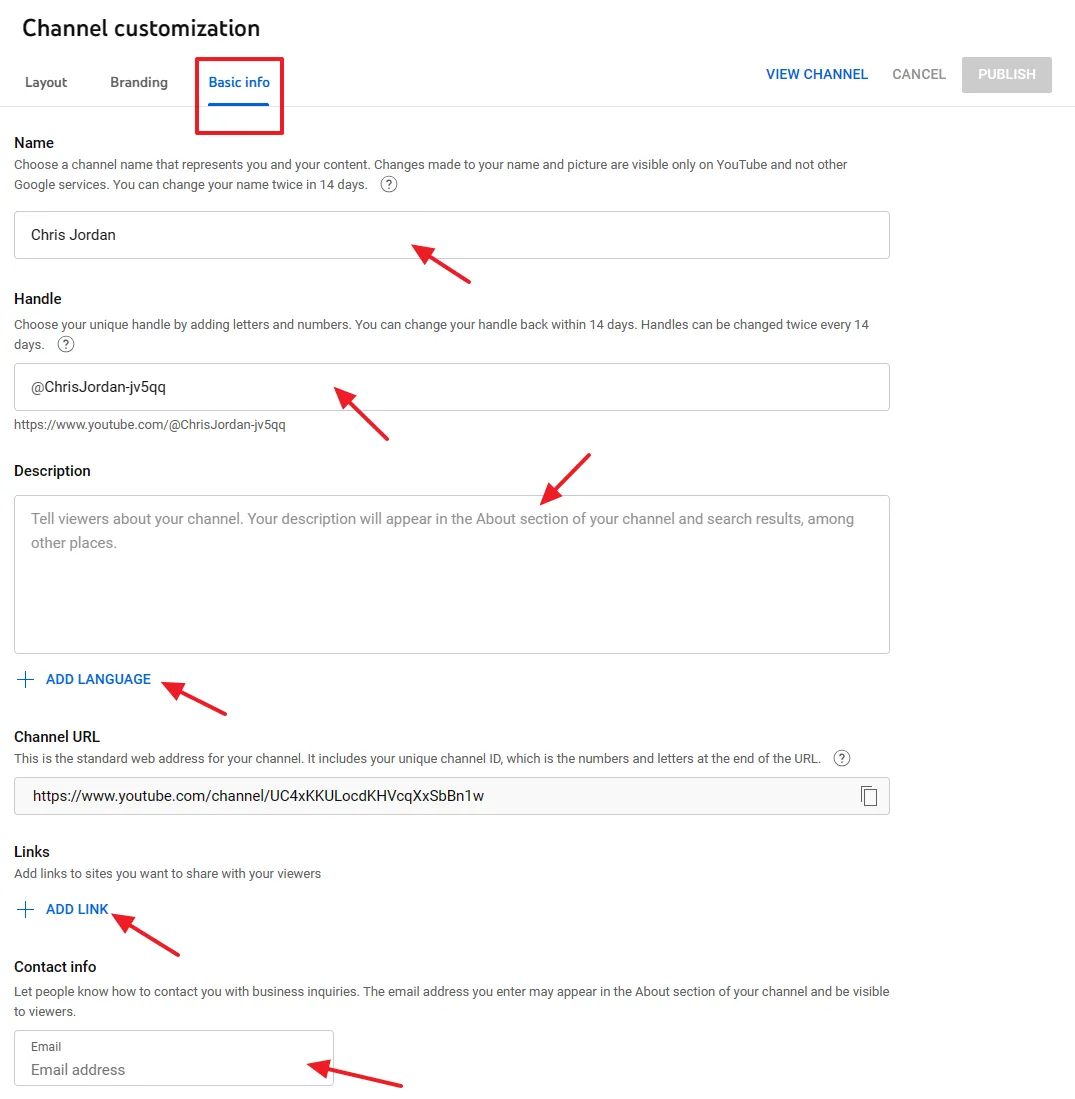
- Click on the Basic info tab.
- You can change your Channel name and Handle name.
- Add the Description of your YouTube channel.
- Click on the + ADD LANGUAGE to add a language.
- Click on the + ADD LINK to add the links of your site, blog, and social media pages/profiles.
- In the Contact info provide your email address.

RELATED ARTICLES
- How To Upload A Video On YouTube Step-By-Step
- How to Make a YouTube Video in 5 Simple Steps with Ease
- How To Monetize YouTube Channel | Show Google Ads On YouTube Videos
- How To Start A YouTube Channel & Blog On Pets & Make Money Online
- How to Put your Image on Top of Thumbnail on Photoshop
- How To Fill Manage Tax Info In Google AdSense | W-8BEN Form
- How to Rank Your YouTube Videos on Top 10 Search Results
- How to Delete a YouTube Channel Permanently or Temporarily
If you like this post then don’t forget to share with other people. Share your feedback in the comments section below.




Leave a Reply