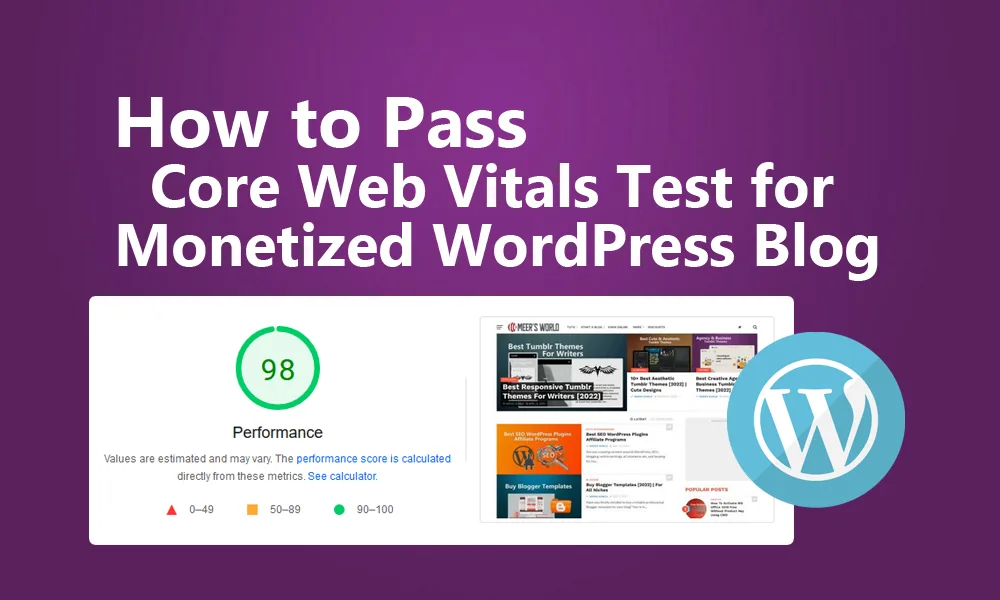
Is your WordPress blog monetized with Google AdSense ads and you want your pages to pass the Google Core Web Vitals test? Don’t worry! You’re in the right place.
In this tutorial, I will guide you on how to pass the Core Web Vitals SEO test for a WordPress blog (homepage + post pages) monetized with Google AdSense Ads.
The solution is simple, you have to do two things (1) Delay the loading of Google Ads [Section 4] (2) Speed up & optimize the pages of your blog [Section 5].
Note: If your WordPress website/blog is NOT monetized with Google AdSense Ads, skip the Section 4.
Following topics will be covered in this post:
- What are Google Core Web Vitals?
- Do Core Web Vitals Important?
- Do Google Ads Cause Pages to Fail the Core Web Vitals Test?
- Delay the Loading of Google AdSense Ads
- Speed Up & Optimize the Pages of your Blog
- Google PageSpeed Insights Test
- Google Search Console Core Web Vitals Reports
- Find & Fix Runtime LCP & CLS Score Using Chrome Performance Insights Tool
01. What are Google Core Web Vitals?
Google Core Web Vitals are three metrics LCP (Largest Contentful Paint), FID (First Input Delay), & CLS (Cumulative Layout Shift) which are used to measure the performance of a page based on real-world usage data.
They evaluate the speed, responsiveness, and stability of a page, to make sure that it is providing a good page-experience to users.
You can find the Core Web Vitals metrics scores on Google PageSpeed Insights test results, as discussed in the Section 5 (Google PageSpeed Insights Test).
01. LCP (Largest Contentful Paint)
LCP is a Core Web Vitals metric that measures how long it takes for the largest element (text, image) of a webpage to load within the viewport.
A viewport is the visible area of a webpage.
The LCP should be equal to or less than 2.5s for 75% of your page visits in order to pass the Core Web Vitals assessment.
Below is the viewport of a page on desktop. There will be a Largest Contentful Paint element within this viewport. It could be an image or a paragraph. LCP will identify that element and measure its loading time.

02. FID (First Input Delay)
FID is a Core Web Vitals metric that measures the time from when a real visitor first interacts (taps, click, or key presses) with a page to the time when the browser is actually able to respond to that interaction.
The FID of a page should be less than or equal to 100 milliseconds for 75% of you page visits to pass the Core Web Vitals test.

03. CLS (Cumulative Layout Shift)
CLS is Core Web Vitals metric that measures the layout shift scores from 0 to 1 caused by images, text, links, ads, popups, menu item, buttons, etc, within the viewport during the page load. In short, it tells you about how stable a page is.
Layout Shift can be defined as, when an element of a page such as image, text, video, button, ad, etc, changes its start position between two frames.
Layout Shift score is calculated by multiplying the Impact Fraction score and Distance Fraction score. The score is rated from 0 to 1 where 0 means no layout shift and 1 means large layout shift.
CLS of your pages should be equal to 0.1 or less for 75% of your page visits to pass the Core Web Vitals assessment.
Below you can see that an Auto Banner Ad within the viewport has changed the start position of the text from one frame to the other, caused a layout shift. If an Ad, image, popup, etc, appears within the viewport after the page content is fully loaded, doesn’t count as a Layout Shift.
")
03. Do Core Web Vitals Important?
Core Web Vitals contribute to the overall page-experience score of your website pages. Out of over 200 ranking factors, Google considers Core Web Vitals score as one of the ranking factors in search results.
In short, Core Web Vitals help you to increase the traffic of your website.
Let’s say there are 5 articles on “How to start a WordPress blog“. The content of each of them is as good as the other. Now Google has to rank them in search results. To break the tie Google may give priority to the one having better Core Web Vitals score or the one that provides better user page-experience.

03. Do Google Ads Cause Pages to Fail the Core Web Vitals Test?
Yes, Google AdSense Ads do cause your blog pages to fail the Core Web Vitals test when they are loaded simultaneously with your page content. They decrease the Core Web Vitals score up to 50% on mobile devices and 20% to 40% on desktop devices.
The Google AdSense ads when load simultaneously with your page content decrease the page-loading speed because each Google Ad contains huge lines of Javascript code. When a page takes lot of time to load it affects LCP, CLS, and FID, as a result Core Web Vitals assessment for your website fails.
In order to provide good user page-experience your content should be loaded quickly & earlier before the other features and services such as Google Ads.
Important Note: Do not use the responsive Google AdSense Ad widgets on your website, instead use the Fixed AdSense Ad widgets (Ads with predefined width & height). The responsive AdSense widgets cause CLS (Cumulative layout Shift) on your page.
04. Delay the Loading of Google AdSense Ads
In this section you will learn about how to delay the loading of Google AdSense Ads on your WordPress blog pages.
The Google AdSense ads are loaded on your blog through adsbygoogle.js, a javascript library/file. The script of this file should be loaded on user interaction with your page, not before.
To delay the loading of javascript code you will use a simple free WordPress plugin called Flying Scripts by WP Speed Matters. It loads scripts after a timeout when there is no user interaction.
- Go to Plugins.
- Click Add New.
- In the Search Plugins bar type Flying Scripts.
- Click the Install button.
- Once it is installed, click the Activate button.

- Click Plugins from your Sidebar.
- Go to Flying Scripts by WP Speed Matters plugin.
- Click the Settings link.

- Go to Settings tab.
- In the Include Keywords textarea insert adsbygoogle.js.
- In the Timeout dropdown list choose a timeout from 1s to 10s. It is the time after which Google Ads will be displayed on your pages if there is No User Interaction. If user interacts with your page like scrolls, clicks, tabs, moves pointer, the Google Ads will appear instantly before the Timeout without any delay.
- You can set this time according to the loading speed of your pages. Normally website pages are loaded under 3 to 5 seconds, but if the visitor is using a slow device or having poor internet speed your page could take more time to load. That’s why set the Timeout 10s, so that slow loading of a page won’t affect Core Web Vitals score.
- Click Save Settings.

05. Speed Up & Optimize the Pages of your Blog
In this section you will learn how to speed up and optimize the pages of your blog. It will be done using (1) Optimize Website feature in cPanel (2) LiteSpeed Cache WordPress plugin.
01. How to Enable “Optimize Website” in cPanel
Optimize Website is a special feature in your cPanel account that compresses the content of your pages before it sends to visitor browser. The compression is done through zlib compression.
The compression reduces the size of the web-content (Text, HTML, Javascript, CSS, etc) up to 70%-90%, that helps to increase the page speed and decrease the bandwidth usage.
In order to know more about How Optimize Website feature works and How to enable it on your cPanel account, read this tutorial:
02. Install LiteSpeed Cache WordPress Plugin
LiteSpeed Cache is the best high-performance page caching and site optimization WordPress plugin. It provides server-level cache and a collection of optimization features.
Some of its top features include:
- Free QUIC.cloud CDN Cache, Object Cache
- Image Optimization, Minify CSS, JavaScript, and HTML
- Minify inline & external CSS/JS, Combine CSS/JS
- Automatically generate Critical CSS, Lazy-load images/iframes
- WebP image format support, and much more…..
RELATED
Follow the steps to install LiteSpeed Cache WordPress plugin:
- Go to Plugins and click Add New.
- Enter LiteSpeed Cache in the Search Plugins bar.
- Click the Install Now button.
- Once it is installed click the Activate button.

- From your Sidebar click LiteSpeed Cache to open its Settings.

- Below is the Dashboard of LiteSpeed Cache.

In order to Set Up & understand LiteSpeed Cache A to Z, watch this YouTube Tutorial:
In order to enable the Persistent Object Cache on LiteSpeed Cache, and set up APCu Manager on WordPress, go through this tutorial. APCu Object Cache improves the speed/performance of a website.
If you find any issue you can contact LiteSpeed Technology via Support or Twitter to get help.
06. Google PageSpeed Insights Test
Google PageSpeed Insights is a free online tool that helps you to make your website pages fast on mobile and desktop devices.
- You can find whether your website’s Core Web Vitals Assessment for Mobile & Desktop devices is Passed or Failed.
- You can view Core Web Vitals metrics about What your real users are experiencing.
- It diagnoses performance issues of your website pages and suggestions to remove them.
- After the diagnostics it shows Performance Score of your page.
Follow the steps to test your website pages on Google PageSpeed Insights.
- Go to Google PageSpeed Insights page.
- Paste the URL of your blog or a URL of any of your blog post that you want to test.
- Click Analyze button or press Enter.

- Here you can see the Core Web Vitals Assessment of a page is Passed for Mobile devices. You can view the assessment for Desktop devices by clicking the Desktop tab.
- These are the metrics taken from what Real Users are experiencing in different parts of the world with different mobile devices and different internet speeds. This data is also called Field Data, collected in the last 28 days.
- You can see here that all of the 3 factors (LCP, FID, CLS) of Core Web Vitals are green. It means that LCP, FID and CLS are below their threshold values for 75% of page visits, as you can see on the Expand View (next step).
- In order to view the details about the Core Web Vitals metrics click the Expand view link.

- You can see that Percentile of LCP is 88%, FID is 93%, and CLS is 99%. If the percentile is below 75% for any of the 3 factors, the Core Web Vitals Assessment will be failed.
- To find the runtime LCP & CLS scores, go through the Section 8 below.

- Below the Assessment there is a Page Performance score and Core Web Vitals Lab Data metrics.
- The Performance score above 90 is outstanding. As you will fix the issues the Performance score will be further increased.
- Page Performance score is calculated from Lab Data metrics. The Lab Data is collected in controlled and ideal environment with predefined internet speeds and devices.
- The Lab Data metrics can be different from the Field Data metrics. Core Web Vitals assessment is calculated using the Field Data, as shown above.
- On the right side of the Performance score you can see the Preview of the page, Google AdSense Ads haven’t been loaded with the content because we have added a delay. They will appear only after the Timeout or on user interaction.

- Below the Performance score the PageSpeed Insights shows the Opportunities and Diagnostics to fix the issues. Once you fix the issues and opportunities, your page Performance score will be further improved, that will also help to pass the Core Web Vitals Assessment.
- The Opportunities and Diagnostics could be different for Mobile and Desktop.

- The last section of the PageSpeed Insights test is Passed Audits. It lists all those things & issues which have been successfully passed by your pages.

07. Google Search Console Core Web Vitals Reports
Google Search Console also provides you Core Web Vitals reports based on Field Data metrics. If there are issues & errors related to Core Web Vitals and Page Experience, it shows them in reports.
- Go to your Google Search Console account.
- From the Sidebar click Core Web Vitals.

- It shows Core Web Vitals reports for Desktop and Mobile separately.
- Click on the OPEN REPORT link.
- When you open the report it will show the issues which are needed to be fixed. Click on the issue to view the details and list of the pages which are causing the issues.
- If you have fixed an issue you can do Start Validation. After some days Core Web Vitals reports will inform your whether the validation is passed or not.

08. Chrome Performance Insights Tool
On PageSpeed Insights website you can get Core Web Vitals Metrics Scores, Percentage of Page Visits, Diagnose Performance Issues, but it doesn’t provide you the runtime performance issues and Core Web Vitals metrics (LCP, CLS) scores, measured on different internet connections (3G, 4G), and devices (Fast, Slow).
To overcome the shortcomings of PageSpeed Insights, Google Chrome developers came up with a sophisticated and powerful tool called Performance Insights, that helps you to identify the performance issues of a website in runtime with predefined settings. You can take actions to fix the performance issues by following its recommended solutions.
Go through this tutorial to learn How to use the Performance Insights tool.
You can also use Web Vitals Chrome extension to measure the realtime Core Web Vitals metrics. It is really helpful to measure the Core Web Vitals metrics while scrolling the page.

Final Thoughts
So it was all about How to Pass the Core Web Vitals test for a Monetized WordPress blog. I hope that my guide would have helped you to understand the Core Web Vitals metrics and pass the assessment.
If you are unable to pass the assessment, go through the issues and try to fix them.
If you like this post then don’t forget to share with other people. Share your feedback & performance scores in the comments section below.
Also Read


Leave a Reply