Are you looking for a step-by-step guide on installing WordPress in Namecheap? You’re in the right place. In this tutorial, I will guide you on how to install WordPress via cPanel using the Softaculous Installer, a free tool available in your cPanel account.
The Softaculous is an auto-installer that helps you to install open source web applications such as WordPress, Joomla, Magento, SMF, phpBB, WHMCS, AbanteCart, and more.
According to an estimate around 38% to 45% websites are powered by WordPress. If you have decided to choose WordPress for your website or blog, you have taken a great decision. The features, customizability, flexibility, plugins and themes, make WordPress the ultimate choice.
If you haven’t already bought domain and web hosting from Namecheap, read this step-by-step tutorial: How To Buy Namecheap Domain & Web Hosting – Step By Step.
How to Install WordPress in Namecheap
Follow the steps to install WordPress using Softaculous Installer via cPanel account.
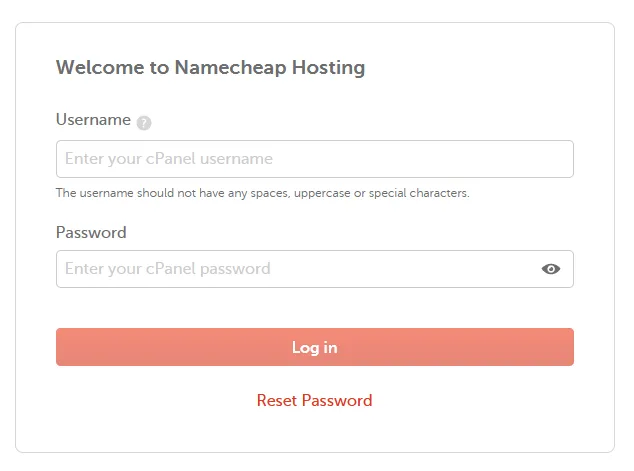
- Browse your Namecheap cPanel. Your cPanel account’s URL will be similar to this: “https://server180.web-hosting.com/cpanel”. When you purchase domain and hosting from Namecheap, its URL, Username, and Password are provided to your via email.
- Enter your Username and Password.
- Click Log In.
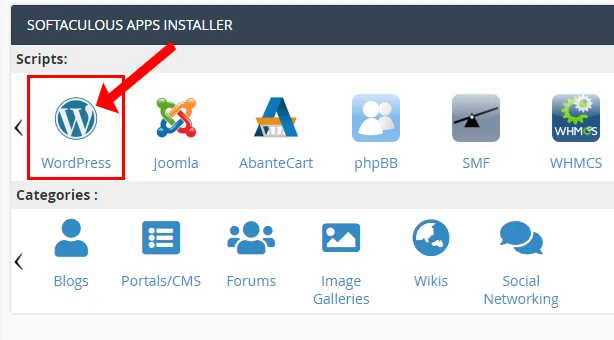
- Go to SOFTACULOUS APPS INSTALLER section and click the WordPress located under the sub-section Scripts.
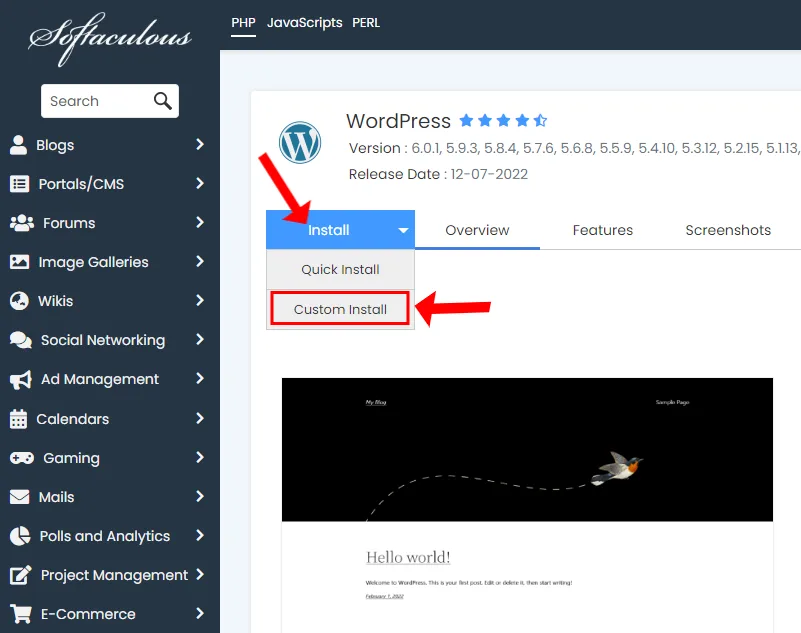
- It will redirect you to Softaculous page. Click the Install tab and select Custom Install option.
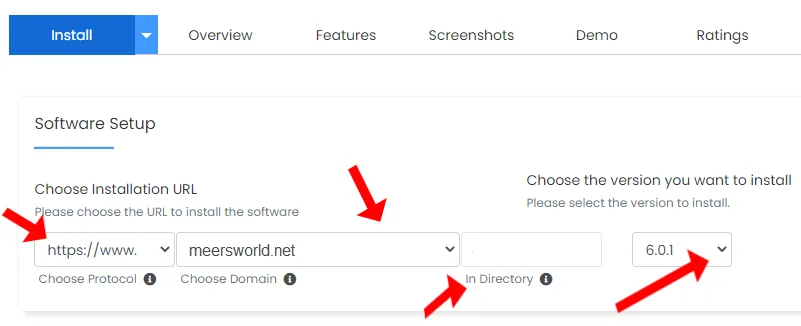
Choose Installation URL settings:
- In Choose Protocol select “https://www.“
- In Choose Domain select your domain.
- Make In Directory textbox empty by removing “wp“.
In “Choose the version you want to install” select the latest WordPress version. By default the latest version of WordPress is selected.
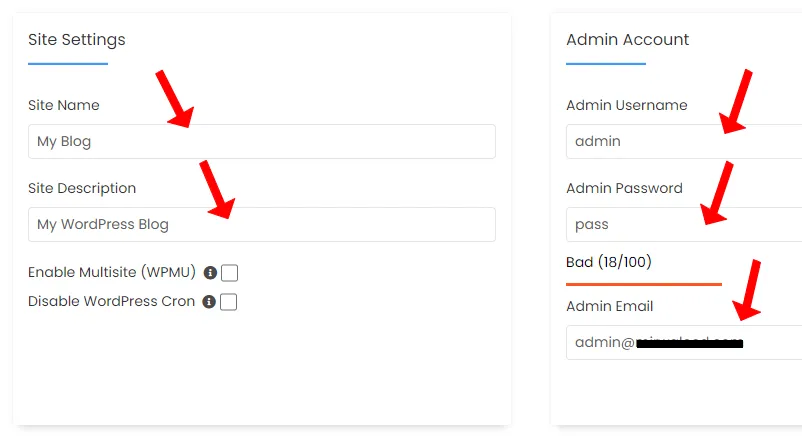
Fill the Site Settings:
- Enter your website name in Site Name.
- In the Site Description enter a short description that describes your website or blog niche.
Fill the Admin Account Settings:
- In the Admin Username enter a username. From security point-of-view we recommend you to not use the “admin”, instead use something that others won’t be able to guess.
- In the Admin Password enter a secure password.
- In the Admin Email enter your admin email. By default WordPress uses “admin@yourdomain” email that can be changed from Users section, later. So here, leave it as it is.
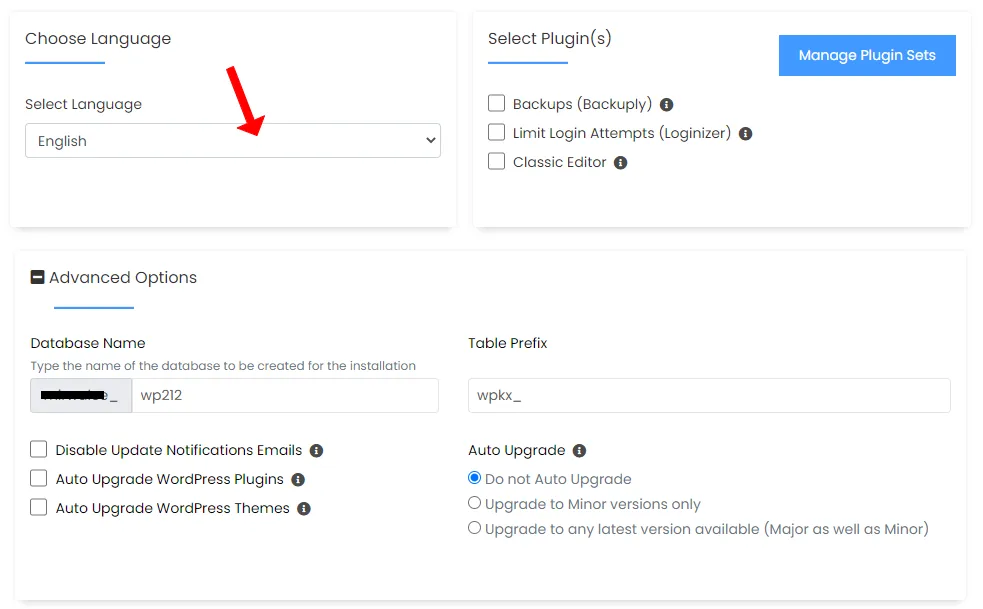
- Choose a Language for your website.
- Leave the sections Select Plugin(s), and Advanced Options as it is. If you’re an advanced user you may customize these settings.
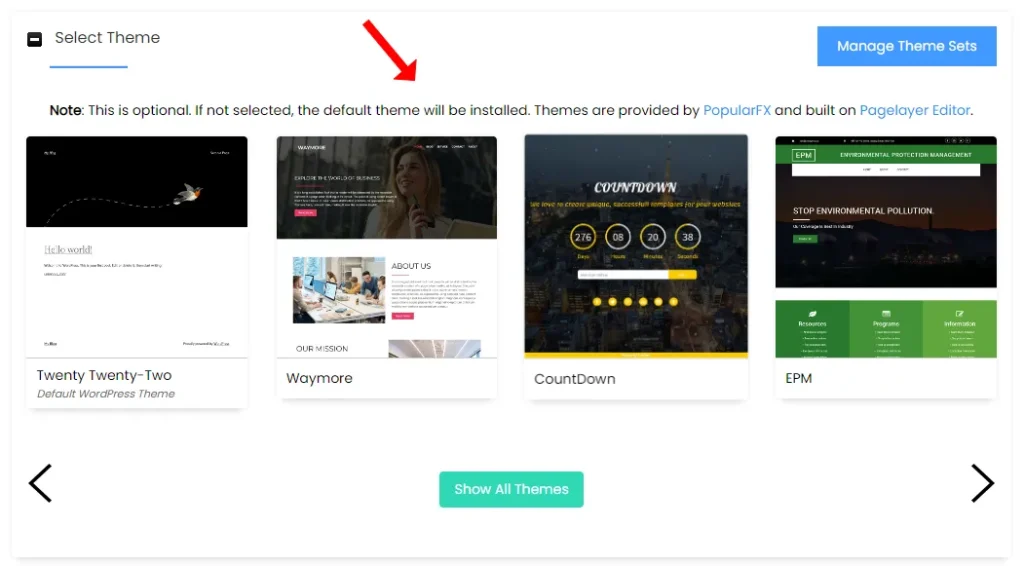
Now it is time to choose a theme for your website.
- Softaculous will show you plenty of free themes offered by PopularFX, that you can select. Pick the one which is relevant to your website. If you’re confused then pick a random theme, you can Change or Delete later from Appearance. You can also buy a professional WordPress theme from Themeforest, the largest themes marketplace.
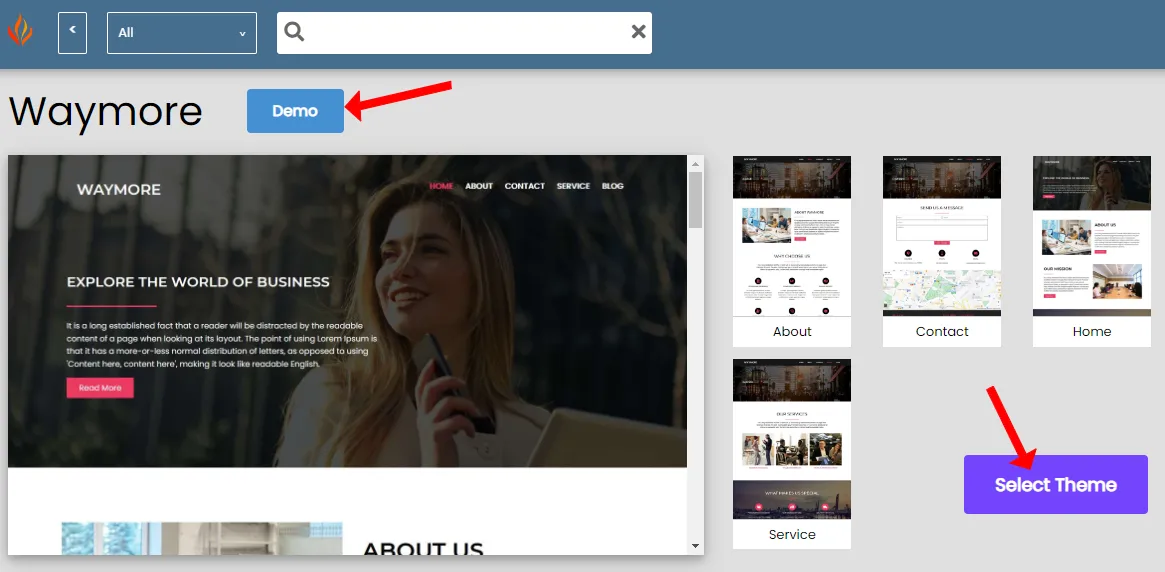
- Click the Demo button to view the Live Preview of the theme.
- Click the Select Theme button to choose the theme.
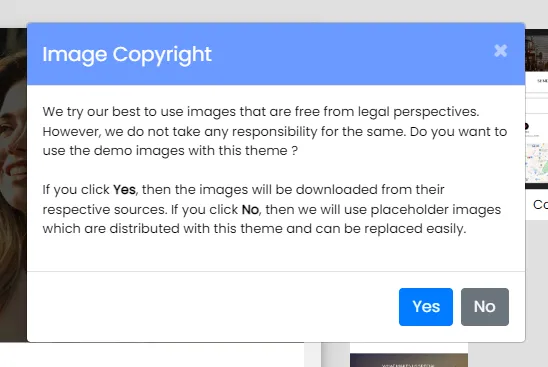
- It may show you a demo image copyright information on a popup.
- Click Yes or No. Everything is customizable, you can modify images and content of the theme, later.
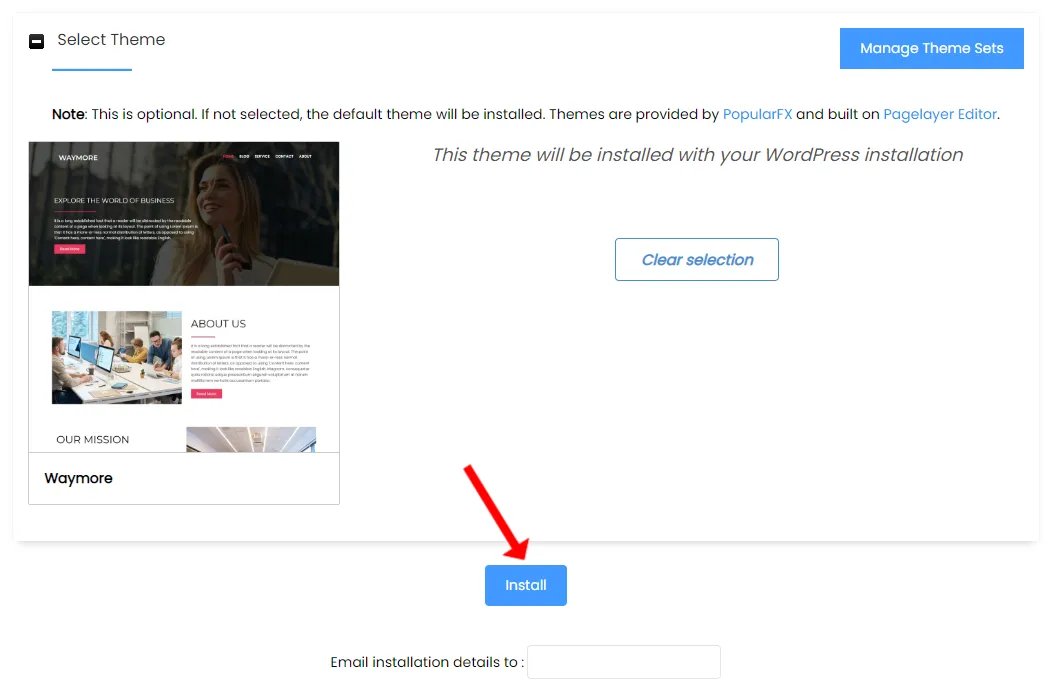
- Your theme will be selected.
- Now click the Install button to begin the installation of WordPress.
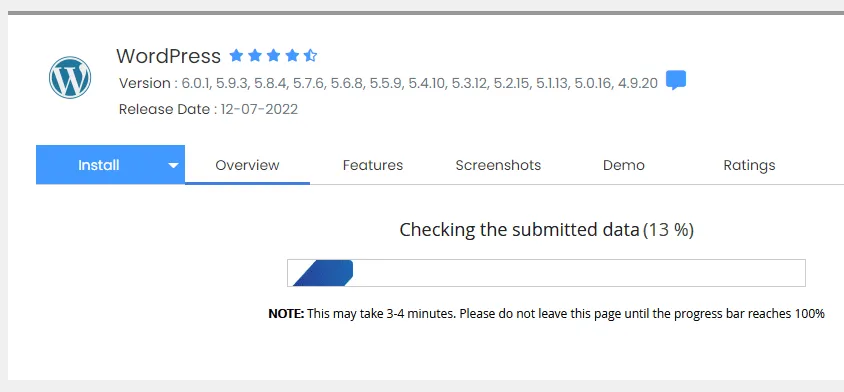
- The WordPress installation takes 3 to 4 minutes, so be patient and wait for it to finish.
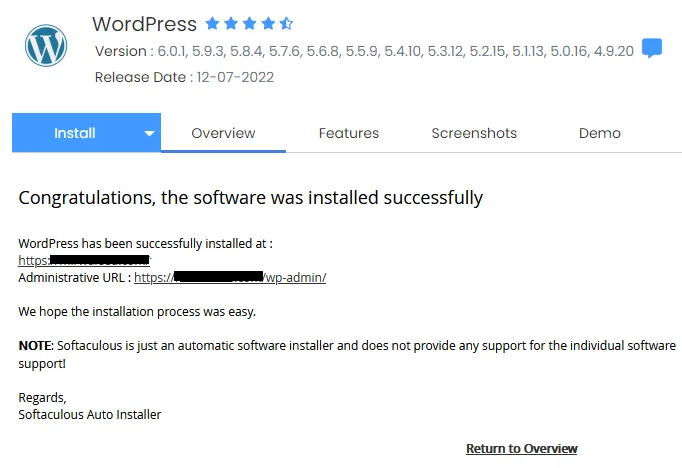
- Once the installation is finished successfully Softaculous will show you a message, “Congratulations, the software was installed successfully“.
- It will list your WordPress Admin Section link (Administrative URL) through which you can access it, as shown in the next steps. It will be similar to “https://www.example.com/wp-admin/“. The Username and Password will be the same, that you have provided in the Admin Account settings above.
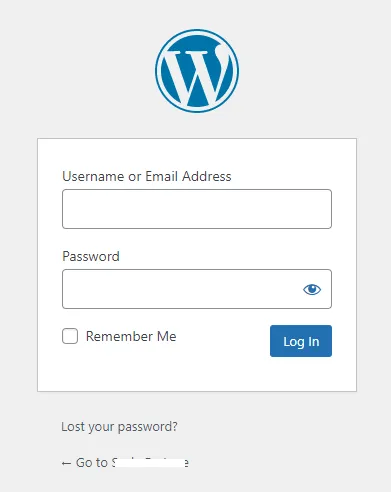
- Login to your WordPress Admin.
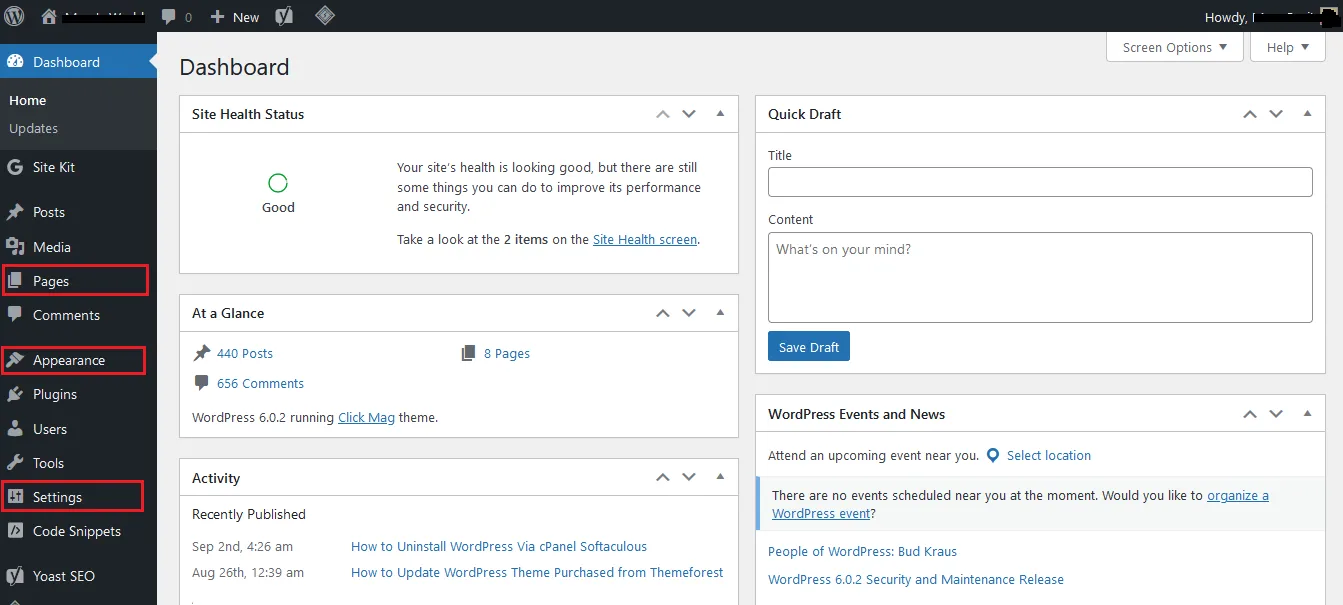
This is how a WordPress Admin section looks like. As you will spend time on it, you will get used to it.
- You can create/delete/edit/publish posts from Posts section.
- The Media section contains Images and Videos of your website.
- On Pages you can create website pages. Some theme makers design Homepage and Inner Pages of website in pages. In that case you can modify the content, design, images, of the theme by visiting the Pages section. The main page of the website is named or marked with Home.
- Mange your comments settings in the Comments section. Read: How to Stop Spam Bot Comments in WordPress
- In Appearance you can add/upload/change/delete/customize themes.
- The Plugins section allows you to add/delete/activate/deactivate plugins. In WordPress plugins are programs that add new features or extend existing features to your website. Read: 5 Essential WordPress Plugins That A New Website Needs
- On Users section you can add/delete/edit/ users and define their roles.
- On Settings section you can manage and set up the settings of your website.
So it was all about installing WordPress in your Namecheap web server via cPanel account using the Softaculous App Installer. Hope you would have enjoyed it. If you like this post then don’t forget to share with other people. Share your feedback in the comments section below.
You can find plenty of WordPress Tutorials on Meer’s World.
Also Read
- How To Configure WP Mail SMTP For Sendinblue Mailer – WordPress
- How To View Google Analytics In WordPress Dashboard | Site Kit By Google
- How To Connect Website To Google Search Console & Verify Domain Ownership Via DNS Record
- How To SignUp For Google AdSense & Add AdSense Code In WordPress Theme
- How to Update WordPress Theme Purchased from Themeforest
- How to Uninstall WordPress Via cPanel Softaculous
- How To Create Email Account In Namecheap cPanel



Leave a Reply