Are you on Email Settings in Blogger and wondering what is “Post using email“, how it works, and how to set up? Don’t worry! You’re in the right place.
The Post using email is an amazing advanced-feature in Blogger that allows you to publish/send an email as a blog post on your blog, directly from your email account. The Subject of your email becomes Post Title and Content (Text, Images) becomes Content of blog post.
Except for post URL (Permalink) you can edit (add, delete, modify) content of Post using email blog post in the Blogger Post-Editor. The post URL is created from the Subject of email.
Following topics will be covered in this post:
- What are the Benefits of “Post Using Email”?
- How to Set Up “Post Using Email” in Blogger | How it Works
RELATED
- How To Redirect Blogspot To Custom Domain | Set Up A Third Party URL
- How To Migrate Custom Domain Blogger Blog To WordPress
- How to Set Up Blogger Settings | A to Z
01. What are the Benefits of “Post Using Email”?
Before you learn how to use Post using email feature in Blogger, let’s go through some of the benefits of using it.
- You can create blog posts directly from your email account and publish on your Blogger blog.
- You can Forward any of your existing/old email to your Blogger blog and publish as a blog post.
- Let’s say someone sends a piece of news, information, etc, as an email to you and you want to urgently publish on your blog; You can simply Forward the email to your blog. Blogger doesn’t change the styling of the email, publishes the email in its original form that saves your time of styling and editing. You can manually delete/modify/add content by editing that post in Blogger Post-Editor later.
- Suppose you want to create a blog post from your smartphone. For some reason your Blogger Post-Editor doesn’t work on smartphone browser, as an alternate you can login to your email account and create your blog post there.
02. How to Set Up “Post Using Email” in Blogger
In this section, you will learn about how to set up Post using email in Blogger and how it works.
- Login to your Blogger admin section.
- Click the Settings from sidebar and go to Email section.
- Click the Post using email option.

Before setting up Email for posting first understand the two Publishing options (1) Publish email immediately (2) Save emails as draft post.
Publish email immediately: Your post will be published on your Blogger blog soon after you send the email.
Save emails as draft post: Your post will not be published on your Blogger blog when you send the email, instead it will remain as a Draft Post in Blogger dashboard. You can manually publish the post by visiting your Blogger dashboard.
- There are three parts of Email for posting email address (1) Your Blogger admin email-username (2) secretWords (3) Blogger email domain (@blogger.com). The Part 1 and Part 2 are separated by “.“.
- You have to enter only secretWords, the Part 1 and Part 3 will already be there. You can enter anything in secretWords. The secretWords shouldn’t be too simple that they can be guessed easily.
- Your Email for posting email address will be like “blogger_admin_username.secretWords@blogger.com“. You can see in the next step.
Note: Don’t share your Email for posting email address with anyone.
 Your Blogger admin email-username (2) secretWords (3) Blogger email domain (@blogger.com).")
- Here you can see that I have created Email for posting email address that I will use to send emails as a blog post to Blogger. My secretWords are “iamtaurus“. The complete email address will be like “qe….k.iamtaurus@blogger.com“.
- Once you choose a Publishing option and enter secretWords, click Save.

The Post to email settings have been configured successfully, now it is time to send email to your Blogger blog.
You can use public(free) email service such as Gmail, Outlook, Hotmail, etc, as well as domain-based (private) email service.
Here I am guiding you on sending email from your Gmail account.
- Login to your Gmail account.
- Click the Compose button to create a new email. In order to learn How to Forward an existing email to Blogger go through the last 2 steps.

- In the “To” enter your Email for posting email address that you have created in Blogger. Example shown in the next step.
- In the “Subject” enter the title of the email (post). Make sure it shouldn’t be too long or too short. The ideal length is 60 characters.
- In the white-space section add your content like text, images, links, etc.
- Once you’re done, click the Send button.

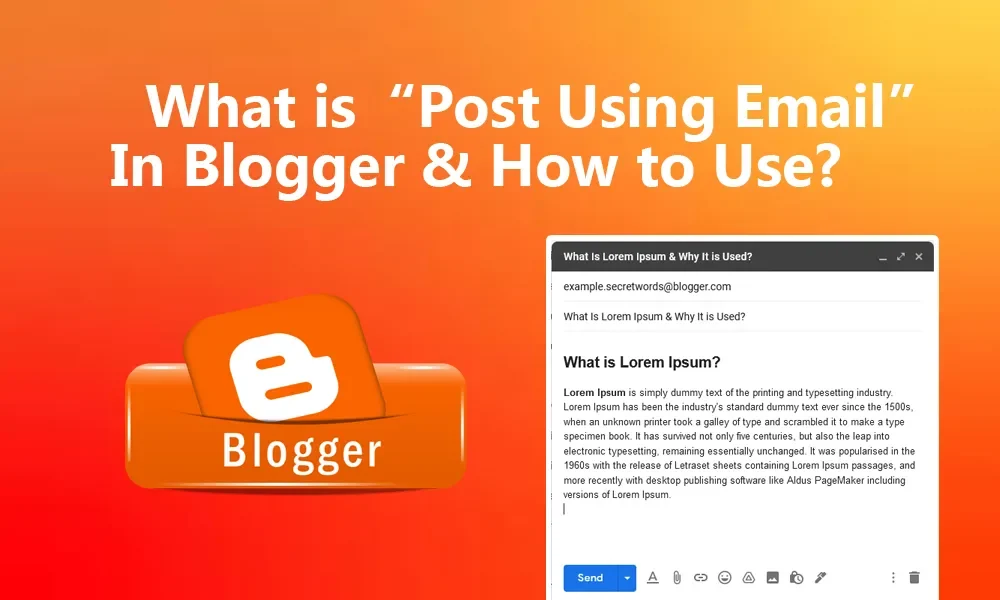
- You can see that I have crated a simple email in Gmail composer.
- Now I will send this email to Blogger.

- Go to your Blogger account and refresh your Dashboard.
- Here you can see that the email has been successfully received in Blogger dashboard. Since I haven’t added any image so it is not showing the thumbnail here. Open your blog and see how your email looks as a bog post.
- If you want to modify/edit the post click on its Title. It will be opened in Blogger Post-Editor, as shown in the next step.

- The post (email) is opened in Blogger Post-Editor. You can edit/modify anything except the URL (Permalink) of the post because it can’t be changed once the post is published.
 is opened in Blogger Post-Editor.")
You’ve successfully composed a new email on Gmail account and published on your Blogger blog. Now here you will learn about how to publish an existing/old email on Blogger.
- Open the email that you want to publish on Blogger and look for the Forward button/link/icon. The Forward link in Gmail emails is located at bottom.
- Click the Forward link.
- In the “To” enter your Blogger’s Email for posting email address.
- Click the Send button.

- Here you can see that the Forwarded email has been received on Blogger. You can edit the post in Blogger Post-Editor to delete the unnecessary content.

Final Thoughts
So it was all about this powerful feature Post using email. I hope that this article will have helped you to understand Post using email completely. If you like this post then don’t forget to share with other people. Share your feedback in the comments section below.

Also Read
- How To Show/Hide Comments Box & Enable/Disable Comments In Blogger
- Best Blogger Related Posts Widget With Thumbnails
- How To Change Blogger Contact-Us Email | Blogger Contact Email
- Blogger: How To Create A Link To Jump To A Specific Part Of Webpage
- How To Set Up Site Feed Settings in Blogger | RSS Feed
- What are Labels in Blogger & Their Purpose


Leave a Reply