Do you want to know how to open, extract, and create ISO File on Windows? You’re in the right place. In this tutorial, I will guide you step-by-step on how to do.
PowerISO is a very powerful image file processing tool & a disc image utility that can open, create, edit, burn, compress, encrypt, mount, and extract ISO files. Once Power ISO is installed on your computer it gives you the option to create more than 20 virtual drives on which you can mount your ISO files.
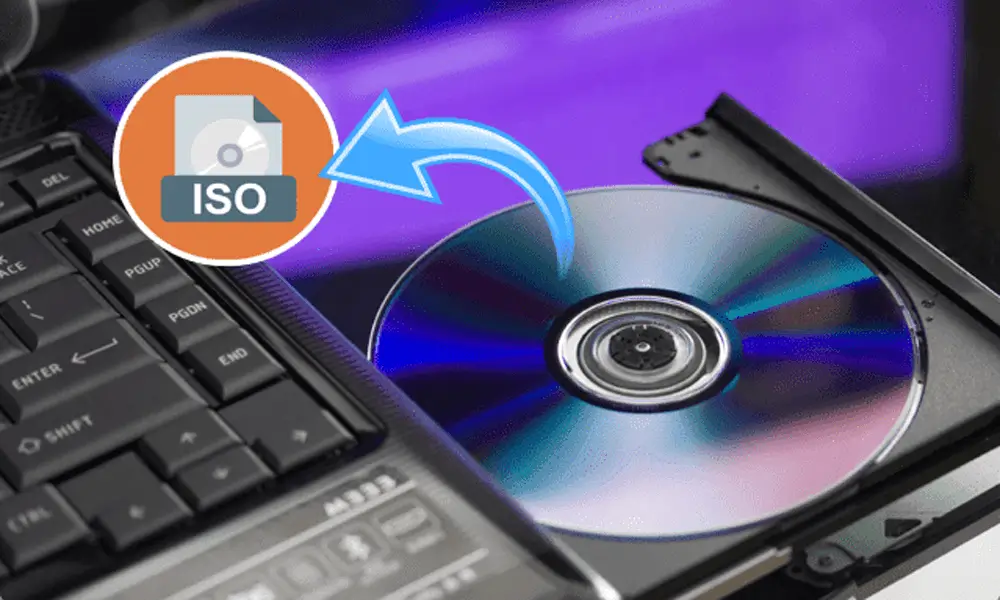
What is an ISO file?
An ISO file is also called ISO image, that contains exact copy of data found on an optical disc, like a CD or DVD. Its main purpose is to back up the optical discs or for distributing large file sets that are meant to burned to an optical disc. You can make ISO file of any data like files & folders, the way you create zip files using Winrar.
When you insert CD/DVD again-and-again there is possibility that they may fail to run because of the scratches caused by your disc drive’s reader. So that’s why DVDs or CDs are copied as ISO files which you can save into your computer and can run as many times as you want. ISO files are actually virtual DVDs/CDs.
For example, you may have played games on your computer which run from your optical disk drive means you have to insert DVD each time to play those games. Now if you create ISO image of that game you can play without inserting DVD into your computer’s optical disk drive.
In order to protect your ISO files from unauthorized access you can set password as well. Once your ISO file is password protected it can’t be extracted or run without password.
Following topics will be covered in this post:
- How To Set Power ISO Drive
- How To Mount/Run .ISO File
- How To Extract .ISO File
- How To Create .ISO File
- How To Set Password On Power ISO File
- How To Change The Password Of .ISO File
01. How To Set Power ISO Drives
Follow the steps to set Power ISO Drives on your Windows.
- Before you mount your .ISO file you must set the PowerISO drives. Below you can see that there is no PowerISO drive.

- To set the Power ISO drives right-click on any file or folder on your computer. Here I have right-clicked on my DVD Drive.
- Go to PowerISO.
- Go to Set Number of Drives.
- Click on the 1 Drives. You can create more than 20 drives.

- Now open My Computer/My PC. You will see a golden icon of Power ISO drive. Your PowerISO drive is ready to mount .ISO files.

02. How To Mount/Run .ISO File
In the above step you have learnt about how to set Power ISO drives. Now in this section you will learn about how to mount or load .ISO files into your PowerISO drive.
- Right-click on your .ISO file.
- Go to PowerISO.
- Click on the “Mount image to Drive [:]<No media> “.
![Right-click on your .ISO file. Go to PowerISO. Click on the "Mount image to Drive [:]<No media> ".](https://www.meersworld.net/wp-content/uploads/2020/10/How2BTo2BOpen252C2BExtract2B25262BCreate2BAn2B.ISO2BFile2BOn2BWindows2B5-min-2.png "Click on the \"Mount image to Drive [:]<No media> \".")
- You can see that the PowerISO is mounted with the .ISO file. You can directly open it or do right click and open.
- If there is a software you can install directly from PowerISO drive and if you want to copy to your computer or USB you can Copy & Paste. Remember that you can only copy the data of .ISO file. You cannot edit or delete.

- In order to mount another .ISO file you have to unmount the Power ISO drive.
- Right-click on your PowerISO drive and got to PowerISO.
- Click on the “Unmount Drive [:]“.
![Right-click on your PowerISO drive and got to PowerISO. Click on the "Unmount Drive [:]".](https://www.meersworld.net/wp-content/uploads/2020/10/How2BTo2BOpen252C2BExtract2B25262BCreate2BAn2B.ISO2BFile2BOn2BWindows2B7-min-2.png "Click on the \"Unmount Drive [:]\".")
03. How To Extract .ISO File
You must have extracted or unzipped Winrar files. Similarly you can extract the .ISO files as well. Extracting .ISO files is one way to copy the data of .ISO files on your computer.
- Right-click on your .ISO file and hover over PowerISO.
- Click on the Extract Here.
- There are two more options for extracting i.e. Extract to and “Extract here using file names from folders“.

04. How To Create .ISO File/Image
Follow the steps to create .ISO file/image.
- Right click on a file, folder, or DVD/CD of which you want to create .ISO image. If there are more than 1 file or folder select them first and then right-click.
- Hover over PowerISO.
- Click on the Add to image file….

- Choose .iso file.
- Click on the OK button.

- You can see that the .ISO file has been created.

05. How To Set Password On .ISO File
The Power ISO offers you a security feature that allows you to protect your files with password. The password can only be created when you create .ISO image. Remember to set a password that you remember. In case if you forget the password it can’t be recovered or modified.
- Right-click on the file/folder/DVD of which you want to create .ISO image.
- Hover over the PowerISO.
- Click on the Add to image file….

- Choose .iso file.
- Click on the Properties….

- Click on the Advanced tab.
- Click on the Enable password protection.
- Enter your Password.
- Click on the OK button.

- Your .ISO file is password protected now.
- Click on the OK button.

- Click on the OK button.

- Here you can see that the Power ISO is prompting for Password. The file is password protected.

06. How To Change Password Of .ISO File
Power ISO allows you to change the password of your .ISO file, but always remember that you can only change the password if you know your current password because without the current password you cannot access your password protected .ISO file.
- Enter the Current Password of your .ISO file.
- Click on the File.
- Click on the Image Properties….

- Click on the Advanced tab.
- Click on the Changed password.
- Enter your New Password.
- Click on the OK button.

There are lot of other features that you can explore on PowerISO. In this article I have covered some of its important and common features.
If you like this post then don’t forget to share with other people. Share your feedback in the comments section below.
Also Read


Leave a Reply