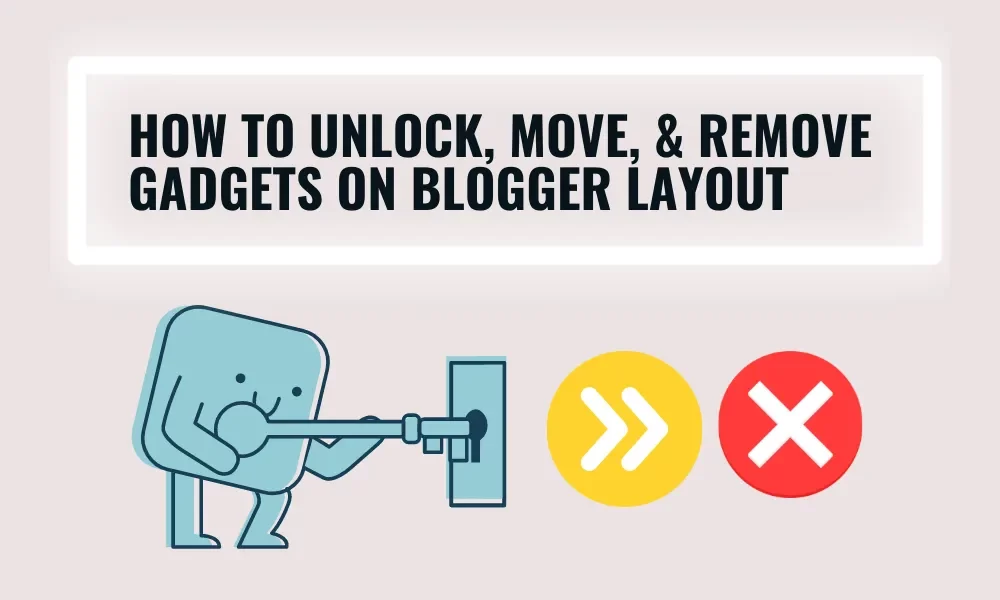
Do you want to unlock a gadget and move it from one section (place) to other on Blogger Layout or want to remove/delete a gadget on Blogger Layout? You’re in the right place.
In this tutorial, I will guide you step-by-step on how to unlock gadgets on Blogger Layout so that you can remove them or move from one section (place) to other.
Blogger locks some of the gadgets such as Featured Post, Subscribe Link, Search, Navigation, etc, on their default positions because they work best there. When you move them to other positions they might lose their styling and responsiveness.
A locked gadget on Blogger Layout cannot be removed.
Following topics will be covered in this tutorial:
- How to know Whether a Gadget is Locked or Not?
- How to Unlock a Gadget on Blogger Layout?
- How to Know Whether a Gadget Is Unlocked or Not?
RELATED
- How to Set Up Blogger Settings | A to Z
- How to Link Blogger to Google Analytics 4 | Measurement ID
- How To Connect Blogger Blog to Google Search Console
01. How to Know Whether a Gadget is Locked or Not?
In this section, I will guide on how to know whether a gadget is locked or not on Blogger Layout.
- Move the mouse pointer on top of the gadget on Blogger Layout. If you see an Arrow, it is locked. You cannot move or remove that gadget.
- Click on the Edit icon of the gadget to know whether you can remove it or not.

- A new window will popup. Scroll down to its bottom. You won’t see Remove option beside the Cancel and Save. Once the gadget is unlocked, you will see a Remove option.


02. How to Unlock Gadgets on Blogger Layout?
In this section, I will guide you step-by-step on how to unlock gadgets on Blogger Layout.
- Go to Themes from your Blogger sidebar.
- Click the “Downward arrow” attached to the “CUSTOMIZE” button.

- Click “Edit HTML” from the options list.

- Click the “Jump to widget” icon located on top of the Theme Editor .

- It will list all the gadgets installed/active on your Blogger Layout .
- Click on the gadget that you want to unlock. It will take you to the code of the gadget, as shown in the next step.
- I will click the FeaturedPost1.

- Below is the code of “FeaturedPost1“. On top line of the gadget code you can see the tag locked. Its value will be ‘true‘ if it is locked, like this: locked=‘true’.
- Replace ‘true‘ with ‘false‘, as shown in the next step.

- Replace the value of locked from ‘true‘ to ‘false‘ like this: locked=’false‘.
- Click the Save icon located at bottom-right corner.

03. How to Know Whether a Gadget is Unlocked or Not?
Since you have learnt about how to unlock a gadget on Blogger Layout, now it is time to check whether a gadget is unlocked or not.
- Go to Layout on Blogger.
- Move the mouse pointer on top of that gadget. If you see a Move Pointer symbol over the gadget, it is unlocked. You can change the position of the gadget by drag & drop.
- Click the Pencil icon of the gadget to know whether Remove button is enabled or not.

- A popup window will appear. Scroll down to its bottom. The Remove button will be enabled and appear next to Save & Cancel.

If you like this post then don’t forget to share with other people. Share your feedback in the comments section below. Get access to all our Blogger Tutorials.
Also Read
- How To Redirect Blogspot To Custom Domain | Set Up A Third Party URL For Your Blog On Blogger
- How To Show Featured Post Only On Home Page On Blogger | Blogger Tutorials
- Blogger Widget – How To Show Recent And Specific Label Posts Horizontally & Vertically With Quality Thumbnails
- How To Change The Size Of Google Adsense Ads On Your Blog Or Website | Blogger


Leave a Reply