Do you want to set root password on phpMyAdmin? You’re in the right place.
In this tutorial, I will guide you step-by-step on How to set root password on phpMyAdmin in order to secure your databases.
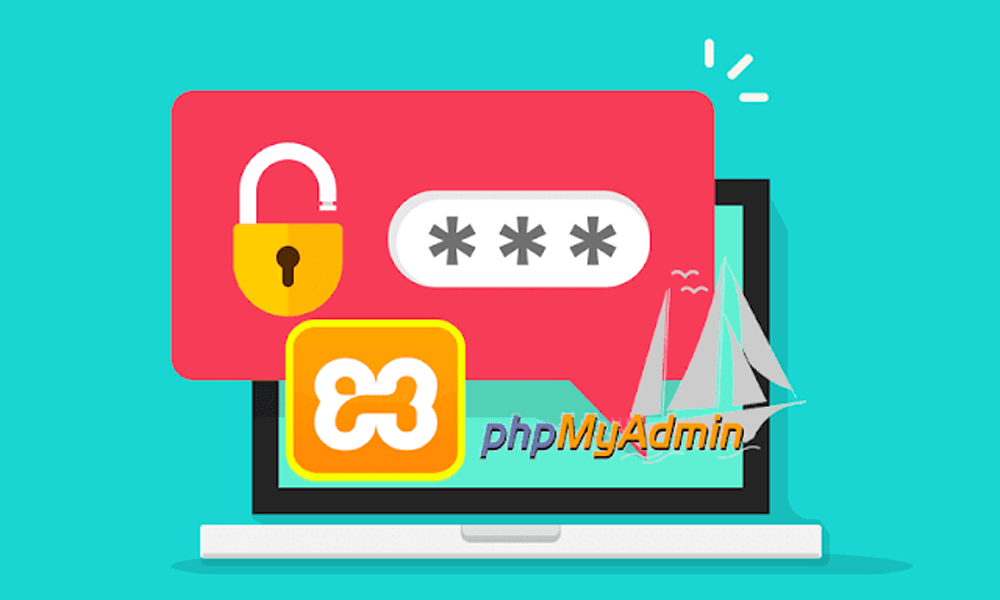
Some web servers like XAMPP do not set a root password for phpMyAdmin. To secure your phpMyAdmin from unauthorized access you need to set a root password.
How to Set Root Password on phpMyAdmin
Follow the steps to learn about setting root password on phpMyAdmin.
- Open phpMyAdmin on your localhost.
- This is the direct URL of the phpMyAdmin: http://localhost/phpmyadmin/.
- On your phpMyAdmin Dashboard and click on the User accounts tab.

- Look for the row that contains User name: root & Host name: localhost. You can see that there is No for Password.
- Click on the Edit privileges link, as shown below.

- Click on the Change password button.

- Choose the Password option.
- Enter a Password.
- On Password Hashing choose Native MySQL authentication.
- Click on the Go button.

- You can see that the password for User name root has been set successfully.

- Now open phpMyAdmin (http://localhost/phpmyadmin/) again.
You may see this error:
- Cannot connect: invalid settings.
- mysqli::real_connect(): (HY000/1045): access denied for user ‘root’@’localhost’ (using password: NO).
- phpMyAdmin tried to connect to the MYSQL server, and the server rejected the connection. You should check the host, username and password in your configuration and make sure that they correspond to the information given by the administrator of the MySQL server.

- Now go to XAMPP installation folder.
- Click on the phpMyAdmin folder.
- Look for the file config.inc.php and open it on the Notepad or PHP Editor.

Look for these two lines:
$cfg['Servers'][$i]['auth_type'] = 'config';
$cfg['Servers'][$i]['password'] = '';![Look for these two lines:$cfg['Servers'][$i]['auth_type'] = 'config';$cfg['Servers'][$i]['password'] = '';](https://www.meersworld.net/wp-content/uploads/2023/04/How-To-Set-Root-Password-In-phpMyAdmin-10.webp "Look for the two lines auhtentication type and password")
- Replace ‘config‘ with ‘cookie‘.
- Enter your password in the line: $cfg[‘Servers’][$i][‘password’] = ‘Enter_Password_Here’; that you have created for the root user on phpMyAdmin.
- Save the config.inc.php file.
![Replace 'config' with 'cookie'. Enter your password in the line: $cfg['Servers'][$i]['password'] = ''; that you have created for the root user on phpMyAdmin.](https://www.meersworld.net/wp-content/uploads/2023/04/How-To-Set-Root-Password-In-phpMyAdmin-11.webp "Update the config.inc.php file.")
- Now go back to the Error page and click on the Retry to connect button or open phpMyAdmin (http://localhost/phpmyadmin/) again.
 again.")
- You can see that the error has been removed and phpMyAdmin is asking for the root username and password.

- After login you can access to your phpMyAdmin Dashboard.

- Go to User accounts on your phpMyAdmin dashboard. You can see that Password is Yes for the root User Name.

If you like this post don’t forget to share this post with other people. Share your feedback in the comments section below.
Also Read
- How To Install & Configure XAMPP On Windows 10 – Step By Step | For Beginners
- How To Change The XAMPP Server Port In Windows 10 | XAMPP Apache Server Port
- How To Install MAMP On Windows 10 Step By Step | How To Change The MAMP Server Ports
- How To Install WordPress On MAMP Server In Windows 10 – Step By Step
- How to Set Up PHP on IIS in Windows | Install PHP with IIS
- How to Download & Install WampServer on Windows


Leave a Reply