Have you enabled AMP in your WordPress website and for some reason want to completely disable it on your website? You’re in the right place. I will guide you step-by-step to how to disable AMP on your WordPress site completely.
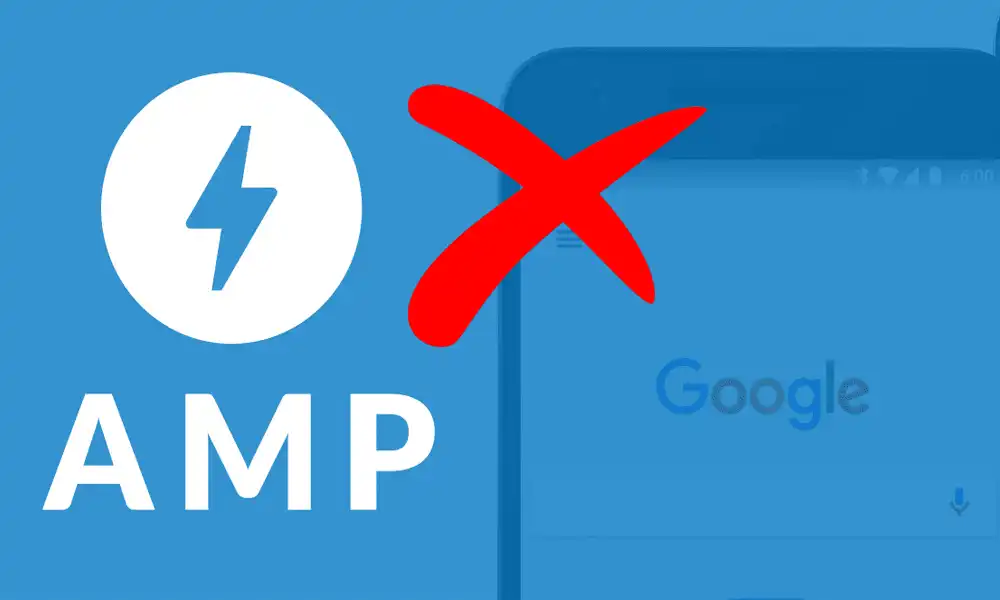
AMP stands for Accelerated Mobile Pages which was originally created by Google to optimize web pages for slow-performance mobile devices, so that they can be easily loaded when browsed. AMP does this by serving pages to mobile devices with minimal HTML and JavaScript.
When AMP is enabled on your website Google creates two URLs for a single page/post, one with AMP and one without AMP. If a page is searched from a mobile device it shows its AMP URL and when a page is searched from a desktop device it shows its normal URL.
The content of AMP pages is stored on the Google AMP cache. When an AMP page is requested it is quickly loaded from the Google AMP Cache, and that’s why I have mentioned in this article that I will guide you to “completely disable” AMP because even when you deactivate and delete AMP plugin on WordPress AMP pages are loaded from the Google AMP Cache.
Why One Should Disable AMP?
When AMP serves pages to mobile users with amazing speed then why one should disable it on his website? It depends on what type of website you have and whether it is monetized or not. Most of the content creators who have enabled AMP on their monetized blogs particularly with Google AdSense found a decrease in AdSense earnings.
RELATED: How To Show Google Ads On AMP Pages | For Beginners
Beside AdSense or PPC ads AMP pages have negative impact on the earnings of blogs monetized with affiliate programs or with their own products. AMP pages does not show navigation menus, contact form, subscription, sidebars, buy buttons, etc, as a result visitors leave the page without exploring other pages of your website.
How to Completely Disable AMP on WordPress Website
First of all Deactivate and Delete AMP plugin.
- Go to “Plugins” from your WordPress Dashboard.
- Under the title “AMP” Click on the “Deactivate“.
- Once it is deactivated click on the “Delete” to remove it from your website.
Deactivating and Removing AMP from your website is alone not enough because Google AMP Cache still has your website AMP pages. Normally after you disable AMP on your website Google takes some time to remove AMP pages from its cache. So to solve this issue you can redirect your AMP page URLs to normal URLs.
Follow the steps to redirect your AMP page URLS to normal URLs permanently:
- Login to your cPanel account.

- Click on the “File Manager” located under the Files section.

- Click on the “public_html” directory.

- At your top-right corner click on the “Settings” button.

- Tick on the “Show Hidden Files (dotfiles)“.
- Click on the “Save“.
\". Click on the \"Save\".")
- Right-click on the “.htaccess” file. The “.htaccess” is a very important file that provides a way to make configuration changes to your website on a per-directory basis.
- Click on the “Edit“.

- Click on the “Edit“. Since “.htaccess” is a very important file, it is better to download a copy of it in your computer, in case if you do something wrong you can upload it again.

- Now Paste these lines at top or bottom of the “.htaccess” file. This code will redirect all your AMP URLs to the normal URLs permanently.
#To redirect AMP URLS
<IfModule mod_rewrite.c>
RewriteEngine On
RewriteCond %{REQUEST_URI} (.+)/amp(.*)$
RewriteRule ^ %1/ [R=301,L]
</IfModule>
#Ends Redirect AMP URLS- Once you Paste the code Save the “.htaccess” file.

You have done two things (1) Disabled AMP plugin (2) Redirected the AMP URLs to normal URLs. Now open your AMP URLs on your smartphone from Google and check whether they have been redirected to normal URLs or not.
If you like this post then don’t forget to share with other people. Share your feedback in the comments section below.

Also Read


Leave a Reply