HTML is the standard markup language for designing webpages, and CSS is a langauge that describes the style of HTML document.
Though the Blogger is an advanced and user-friendly platform for blogging like everything is available on HTML Editor, but the question is, what a normal blogger/publisher/content-creator has to do with HTML & CSS?
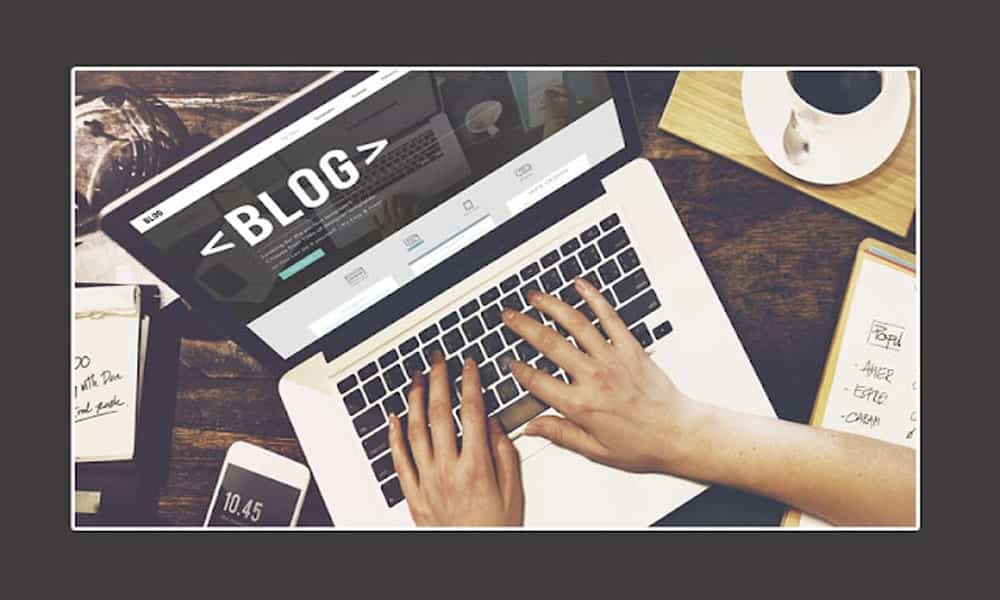
In this post, I will introduce you with some of the important HTML tags & CSS properties that are used in Blogger, and you will also come to know that why their understanding is important for everyone.
RELATED
01. How To View HTML Code Of a Post?
In this section, I will guide you on how to view the HTML code of a post on Blogger.
- There are two views of HTML Editor i.e. Compose & HTML.
- Compose is a normal or front view where you write & compose your post.
- HTML view contains the HTML code of a post. You switch to HTML view when you have to add/remove/edit code or HTML tags.
- Click the Pencil (Edit) icon at your top-left to expand the view options.
 icon at your top-left to expand the view options.")
- Click the HTML view. You can see the HTML tags and CSS styling.
- To go back to normal view click Compose view.

02. Important HTML Tags & CSS Properties
Though there are plenty of HTML tags which are generated when you write a post, but here I will explain only those which are more important to understand.
01. <br />
- When you hit Enter, this HTML tag is generated. It means new line. When you hit Backspace it is deleted.
- Sometimes though we think that we have deleted the newline by hitting Backspace, but some <br />’s remain in the code. So in that case you have to delete the extra <br />’s from HTML code.
- When we upload image, sometimes we don’t get any space to Enter a newline below, in that case you can go to HTML code and insert <br /> below that image, so that you will be able to continue to write below that image.

02. <b></b>
- This tag is for doing bold. Though we can bold from Editor by clicking B, but sometimes the boldness doesn’t remove from Editor, so you need to remove the <b></b> tags from the HTML code.
- <b> is a starting tag whereas </b> is the ending tag. For example, <b> Anything text between these tags will get bold </b>
03. <span></span>
- Span is a container that holds text, and images in between <span> …… </span>. Whenever you add style to the text from the Editor like Bold, Font-size, Color or Underline etc, that text comes in between span tags in HTML code.
- E.g. <span style=”font-size: x-large; color: red;”> Use of the Span Tag </span>
- Again, when you write posts there is possibility that Editor might generate extra <span> which could remain in HTML code.
- It is important to delete the extra spans like extra </br>’s.
04. <div> </div>
- Div tag is used as a container for HTML elements, text, and images, Like this:
<div id="maincontainer">
<h2>This is a heading in a div element</h2>
<p>This is some text in a div element.</p>
</div>
05. Style
- As I wrote above that when we style text, that text comes between <span></span> tags or <div></div> tags in the HTML code. You can give style to any HTML element, like here you can see that the heading h3 has been aligned left using style. “<h3 style=”text-align: left;”>”
- HTML uses CSS properties to add style.
Here is the format:
- <span style=”color: #000000; font-size: large; text-decoration: underline”> Understanding CSS properties </span>
06. Customize The Style
- On Blogger’s Editor we’ve got only fixed font sizes like Largest, Large, Small, Medium, etc, but what if you want to add custom font-size of your choice?

For that you need to go to HTML code and find that line to add your custom font-size. For example, I have added Largest font-size from the Editor and now I want to change it to font-size of my choice.
- <span style=”font-size: x-large;”>What People Say</span>
- <span style=”font-size: 150px;> What People Say</span> //Customized Version
Similarly you can customize lot of other CSS properties in HTML code.
Get access to all the Blogger Tutorials. If you like this post then don’t forget to share with other people. Share your feedback in the comments section below.
Recommended Posts
- How To Display Google Ads On Blogger – Step By Step | Monetize A Blogger Blog | Earn Money Online
- How To Configure Google Search Console On Blogger | Add Sitemap | Inspect URL
- How To Add & Test Custom Robots Txt On Blogger/Blogspot | Blogger SEO
- How To Configure/Set The Custom Robots Header Tags On Blogger | Blogger SEO


Leave a Reply